How to Design a Custom T-Shirt Online: Step-by-Step Guide
Designing a custom t-shirt used to mean hiring a designer or learning Photoshop. AI has changed that. Here's a practical, current walkthrough of the entire process — from concept to finished shirt.
What "designing a t-shirt" actually means
Custom t-shirt design involves two separate things: creating the artwork, and applying it to a garment. Most people find the artwork creation step more daunting, but it's also the step that AI tools have most dramatically simplified. The garment step — choosing a blank, positioning the design, selecting sizes — is straightforward once you have good art.
This guide covers the full process, including the design principles that make art print well, the tools available at each skill level, and how to go from concept to order in a single sitting.
Step 1: Define what you're making and why
Before you open any tool, get clear on the basics:
- Who is this for? One person, a group of 10, a group of 100? This affects design simplicity and ordering approach.
- What's the occasion? A bachelor party, a family reunion, and personal merch all warrant different design registers.
- What's your budget? Design tools range from free to expensive; garment quality ranges similarly.
- What's your timeline? Standard production + shipping takes 7–10 business days. Rush options exist at higher cost.
Step 2: Choose your starting point
Custom t-shirt designs typically start from one of three sources:
A photo
Photos of people, pets, places, or objects are the most common starting point for AI-generated shirt designs. The AI transforms the photo into an illustrated art style that prints cleanly. Best results come from clear, well-lit photos with a defined subject — close-up portraits, animals against simple backgrounds, landscapes with strong shapes.
A concept or description
If you don't have a specific photo, you can describe what you want to an AI image generator. "A golden retriever in a superhero cape, bold pop art style" or "a mountain landscape at sunset, woodcut print style" — descriptive prompts generate entirely new art that still prints well.
Existing artwork
If you have a logo, sketch, or illustration you own the rights to, you can clean it up and apply it directly to a shirt. Upload it to a shirt editor, ensure it's high resolution (at least 300 DPI at print size), and adjust placement.
Step 3: Choose an art style that prints well
Not all art styles translate equally well to fabric printing. The print process favors:
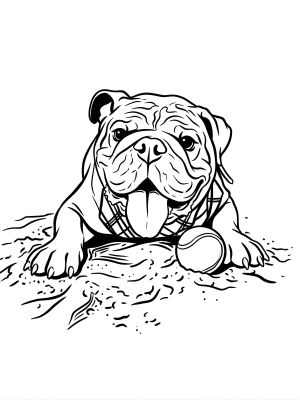
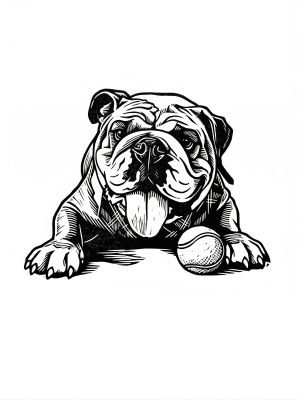
Bold line art
Clean black outlines on white background. Extremely high contrast, reads clearly at all sizes. One of the best styles for DTG printing.
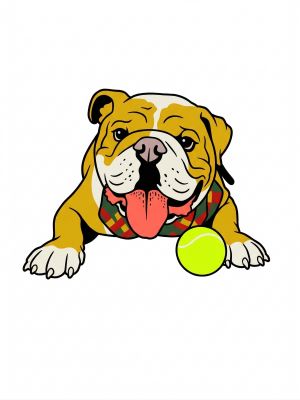
Pop art / flat color
Bright, flat colors with strong black outlines. Low ink bleed, high visual impact. Great for portraits and character-based designs.
Woodcut / linocut
High-contrast black and white with a hand-carved aesthetic. Timeless, prints beautifully, and looks intentional on any shirt color.
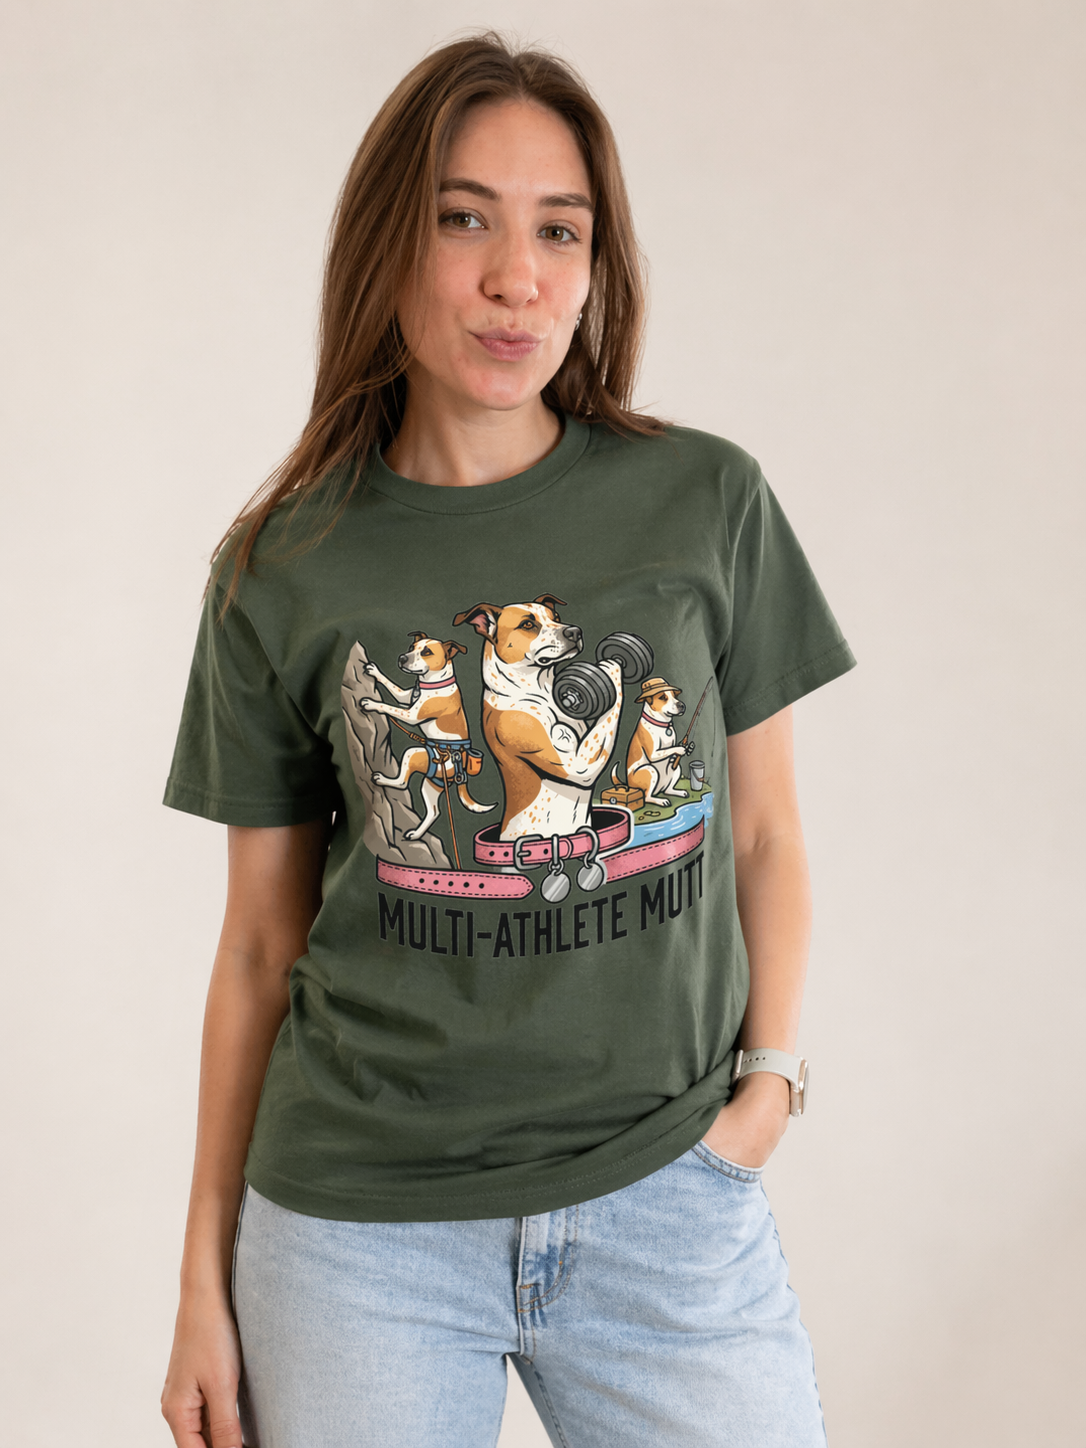
Vintage badge / outdoor
Layered illustration style with earthy tones. Strong edges and limited palette make it very print-friendly. Works especially well for event and group shirts.
Styles to approach with caution for shirt printing: photorealistic images (gradients compress poorly), very fine details (lost at print size), and designs relying on subtle color differences (hard to reproduce accurately on fabric).
Step 4: Create and refine your design
This is where tool choice matters. The main options:
AI photo-to-art tools (recommended for most people)
Upload a photo, describe the style, get custom art in seconds. Best for: portraits, pets, landscapes, any photo-based design. MadeFromArt is purpose-built for this — the prompts and models are tuned specifically for shirt-ready output. Designs come out with clean edges, white backgrounds, and the contrast needed for quality printing.
Text-based AI generators (Midjourney, DALL-E, etc.)
Generate art from text descriptions. More creative flexibility, but output isn't optimized for shirt printing — you may need to post-process for clean edges and transparency.
Vector design tools (Canva, Adobe Illustrator)
Best for text-heavy or logo-based designs. Scalable to any size without quality loss. Requires more design knowledge than AI tools but gives precise control.
How to get better results from AI tools
- Be specific in your style prompt: "bold pop art with flat colors and thick black outlines" outperforms "pop art"
- Add "white background" or "no background" to keep the design clean for printing
- If the first result isn't right, iterate — describe exactly what to change rather than starting over
- Use the highest quality source image you have
Step 5: Place and preview your design on a shirt
Once you have your artwork, you need to position it on the garment. A shirt editor (like the one built into MadeFromArt) lets you:
- See your design on an actual shirt mockup
- Adjust size and position (centered chest, oversized, pocket placement)
- Remove the background if needed for a cleaner print
- Choose shirt color to verify contrast
Standard placement is center chest, roughly 3–4 inches below the collar. Oversized prints (edge to edge) look great but require careful background removal so the design doesn't have a white box around it.
Step 6: Choose your blank and order
The shirt blank matters for how the finished product feels and how the print looks. Key decision points:
Bella+Canvas 3001
Slim fit, ultra-soft, premium print quality. The go-to for gifts and keepsakes.
Gildan 5000
Classic fit, heavier cotton, highly durable. Best for event shirts worn all day.
Gildan 64000 (Softstyle)
Lighter than the 5000, softer feel. Good middle ground between budget and premium.
Common mistakes to avoid
- Ordering too late. Standard production + shipping is 7–10 days minimum. Build in buffer for anything time-sensitive.
- Low-resolution source images. Blurry source photos produce blurry designs regardless of what the AI does with them. Use the highest quality original you have.
- Complex designs on dark shirts. Fine details wash out on dark backgrounds. Test your design on the actual shirt color before committing.
- Not previewing the design at actual print size. What looks great at full screen may be unreadable when printed at 10 inches wide. Preview at scale.
Try the full process in minutes
MadeFromArt walks you through every step: upload your photo, generate custom AI art in your chosen style, preview it on a shirt, and order — all in one place. No design skills required.
Start Designing Free